
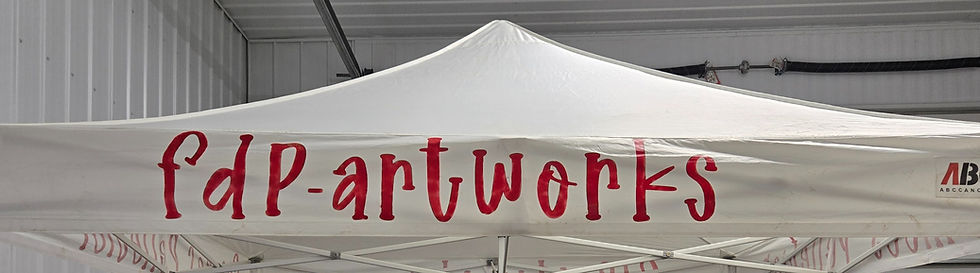
Front and center on your tent!!
- Frances

- May 11
- 5 min read
I participate in markets and art walks. When they are outside I use my 10 x 10 tent. I love my tent. It is sturdy and white so it lets the light in. It keeps the rain out.
It is always good to have your name or business name where it can be seen. I have business cards, yes, but I reserve them for people who ask for them. I can wear a name tag so customers see my name. I have had 2 different vinyl banners made. One is 6 feet long, the other is maybe 2 x 3, but there has to be some where to display them! Inside I can hang them in front of my table. Even when I use a tent I could do that. But if I don't have a large table in my tent I can't do that. Also, hanging a banner takes that much more time!
I decided to put my tent itself to good use. I know that you can buy tents with your name or logo on it but I already have my tent and I am not going to pay someone to do something that I can do myself! If you know me you also know that once I get an idea I get on it right away.
Planning
Who said planning? Just dive right in. Wait, I did actually do a bit of planning (as I went along).
Finding the right stencil
I actually thought it would be easy to find a letter stencil big enough to be seen from a distance. Surely the dollar store would carry them. I checked out 2 stores and found nothing. I'm not going to every dollar store around! Scrap that. Then I googled it and found some on Amazon. Well they were big enough, but rather boring looking stencils. I did not want to order them and pay up to $30 for something I may use only once.
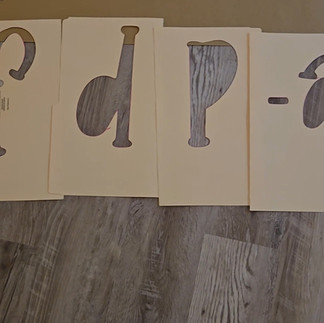
I figured I could make my own stencils. I do have a Cricut Maker 3 which I don't use nearly often enough! So I fired it up and started a new project. What would I cut my stencils out of? I do have some thin plastic sheets but not enough for the lettering I wanted. Cardstock did not seem strong enough. I got this vision in my head of having seen or done something like this using file folders. I have a lot of file folders so I grabbed some and split them down the middle. I used legal size so that I could be sure to have the letters fit with room to spare.


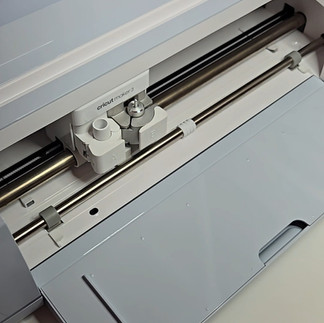


My Cricut Maker 3
What is great about the Cricut is that there are so many fonts available and you can fiddle with the size and positioning. I just picked my font and cut one letter at a time.
Select the font
Type the letter
Select the paper type (I chose kraft paper)
Center the letter on the page
Run to my Cricut in the room across the house
Place the file folder on the lightly sticky mat
Put the mat in place and press load
Start the cut which took about 5 seconds
I did this for each letter and I got a lot of steps in!
I wanted both my name and my art business name so I made only the letters I needed and planned to reuse the letters that repeated.
frances pelletier
fdp-artworks
Important: You do not need a cricut to cut stencils. If you have a computer and printer you can print the letters on heavy paper and cut them out with scissors or a blade.
Finding the right paint
I looked onling at a few videos of how to paint your tent. Not particularily helpful. Spray paint was suggested. I looked into the kind of spray paint required. It was automotive paint and cost around $50 per can. That didn't sit well with me since I was not confident of my spray paint abilities. The paint would probably end up all over the tent!
Thinking of my own paint supplies I knew that just plain acrylic paint would not work. I remembered that I have paint for block painting with lino cut. It's fabric safe and I knew it worked because I had used it to transfer a lino cutting onto a tote bag. Fantastic!
I also have some squeeze bottle fabric paint. Neon colors. I tried both.

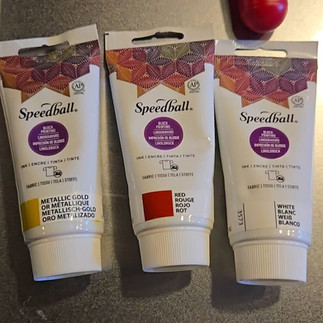


The Speedball paint I have in 3 colors. Gold, Red and White. I prefer red.
The neon paints were a variety of colors.
I also had a few ideas about application. I tried rolling with the speedball roller, a brush, and finally a stiff stencil brush.
Test runs are good


I tried each method and paint on an old tent I have. I just used one of the side panels for the experiment.
The first attempt was the neon paint. It was quite liquid and stayed wet for a while. It did soak in to the fabric.
I was not impressed with the look of it on the tent.
Adding a bead of different colored paint did nothing for it.
Good to try it, though.
Then I did the red paint with the roller and a lot got on the paper and was hard to get on the tent. Applying the red paint with the stencil brush worked well. I also tried the gold paint.


It is probably good that I did a test run on the old tent. I don't want to ruin my good tent and have to buy another one. Aren't you lucky! you can take my experiments and skip that part!
Clean and flat
It is important to have a clean and flat surface. Both the tent and the working surface. Wear gloves and take your time.
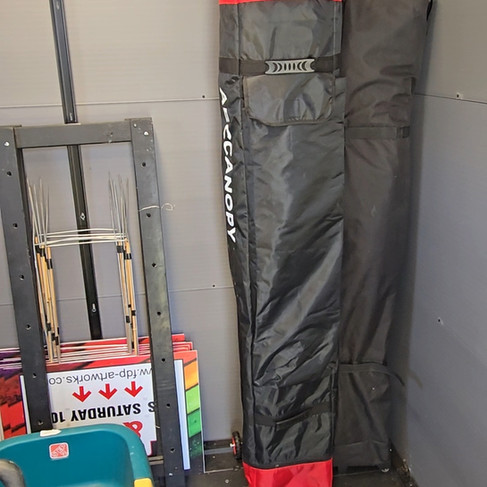
After my test runs I pulled my good tent out of storage. Generally, I remove the roof at the end of summer. However, I found out that I did not do that the last time around. After removing it I did have a look to see how clean it was. Pretty good. I just wiped the surface with a damp cloth.


Lay out the letters
Make sure everything will fit. I stenciled onto a roll of kraft paper to test the length. Luckily when I placed the letters on the actual tent they just fit in the space I had. Taller letters would not have worked!


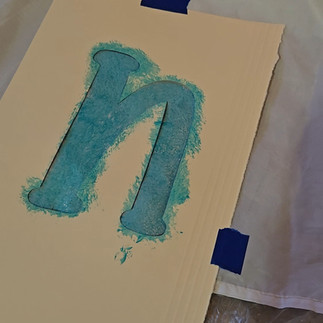
Start stenciling!
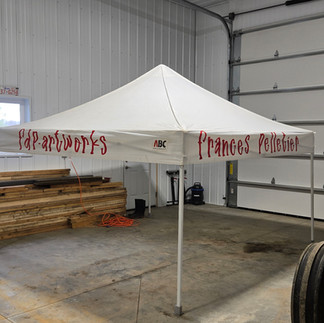
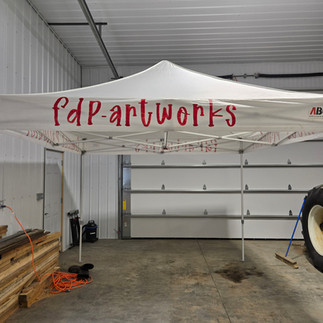
My final decision was to use the Red Speedball ink with the stiff stencil brush.
Voila!
I did fdp-artworks on opposite sides
frances pelletier on the other 2 sides
I would like to add a qr code and maybe a bit of design. If I do that, I will make an addition to this blog and let you all know!


Comments